The ideal surface for water gilding is a rigid wooden surface. Since both gesso and bole are fragile layers, this style of gilding is not suitable for flexible surfaces such as canvas or paper. There are some examples of small water gilded areas in illuminated manuscripts, but that type of gilding requires a few extra steps. Even though preparing gesso is a labor intensive process, it is worth the effort. Once you have experienced the smooth velvety absorbent finish of a traditional chalk ground, no other gesso will compare.
Please note: this is a basic tutorial on how to apply a traditional chalk ground and how Sinopia Clay Bole can be used. Watergilding is a craft that can take years to perfect and these instructions are meant to serve as a starting point, not a comprehensive course. Additionally, all proportions and directions have been compiled from our experiences with our products and may be different from other guidelines that are taught and published. Working with these organic materials is very much like cooking, where no two recipes are alike.
We would like to thank Joel Hoyer, for sharing his recipes and opening up his gilding atelier for this tutorial.
For a more detailed recipe, please view our Sinopia Clay Bole Poliment Technical Data Sheet
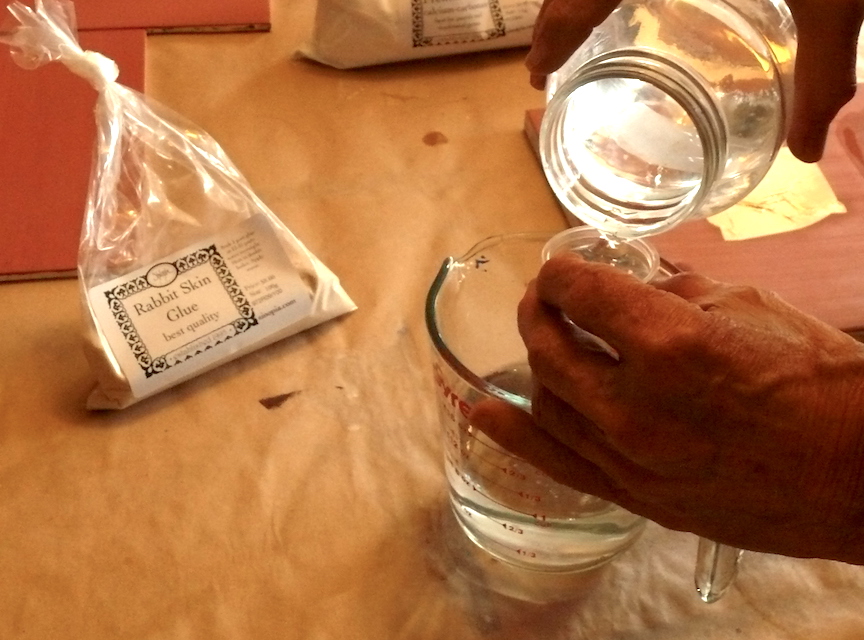
Rabbit Skin Glue Recipe
We recommend rabbit skin glue for our chalk ground recipe, but hide glue also works. We recommend a ratio of 1 part glue to 15 parts cold water. Combine these two ingredients in a container that can be heated and let the glue soak overnight.

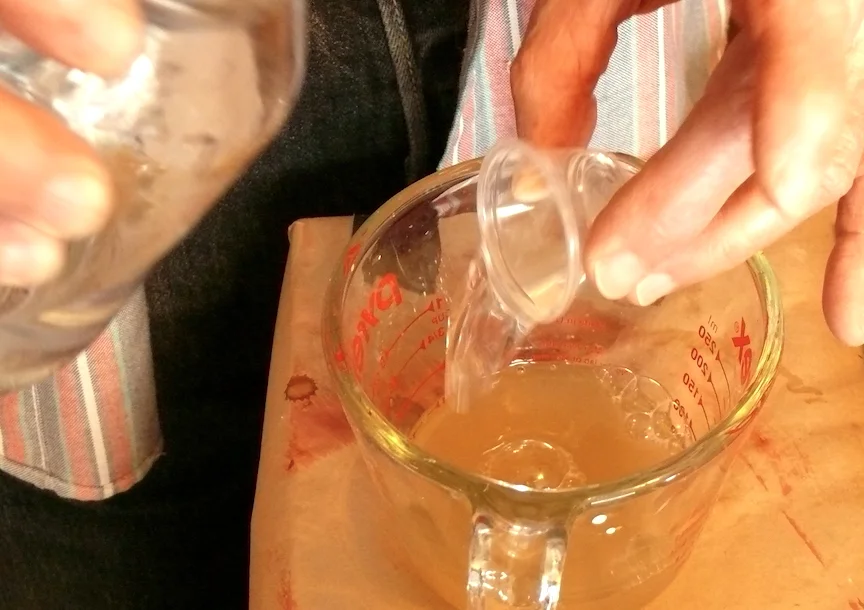
Warming the Glue
Rabbit Skin Glue always needs to be used warm. Once the glue granules have been soaked into the water, gently warm the mixture on a temperature controlled heat source or a double boiler. Do not allow the glue to come to a boil

Applying Fabric Layer
There are many recipes that skip this step and we advise against that omission. Having a layer of fabric between your gesso and the wooden substrate, creates a buffer which affords the fragile gesso protection from whatever expansion and contraction the wooden substrate will experience with seasonal changes.

Sealing the Panel
Before adhering the fabric to the panel. Dilute some of the Rabbit Skin Glue Solution by 100% and liberally apply the thinned solution to all sides of the panel. This prevents uneven moisture absorption and thereby protects the panel from warping.
Most wooden surfaces work for gilding. Examples of suitable substrates are wooden panels made of birch, oak or mahogany. Larger panels should be cradled with cross braces, in order to prevent warping.

Adhering the Fabric
Once the glue has been applied, take the fabric and dip it into the full strength glue solution. Pull the soaked fabric out with tongs and spread the fabric flat onto the panel.
Fabric Note: it is best to use natural fibers such as cotton or linen for this application. If using material from the fabric store, wash the fabric first to get all of the starches out of the weave, which cause wrinkles if left in the fabric. Recycled all cotton bed spreads are a great fabric choice.

Smoothing the Fabric
Once the fabric has been spread out onto the panel, smooth the surface to ensure that there are no bubbles under the fabric.
The fabric can be applied to just the front of the panel, or it can be wrapped around the edges and even cover the back of the panel.

Wrapping the Panel
This step is optional: if wrapping the fabric around the back, apply more glue onto the back of the panel and fold the fabric. Allow the glue to dry thoroughly, before proceeding to the next step.
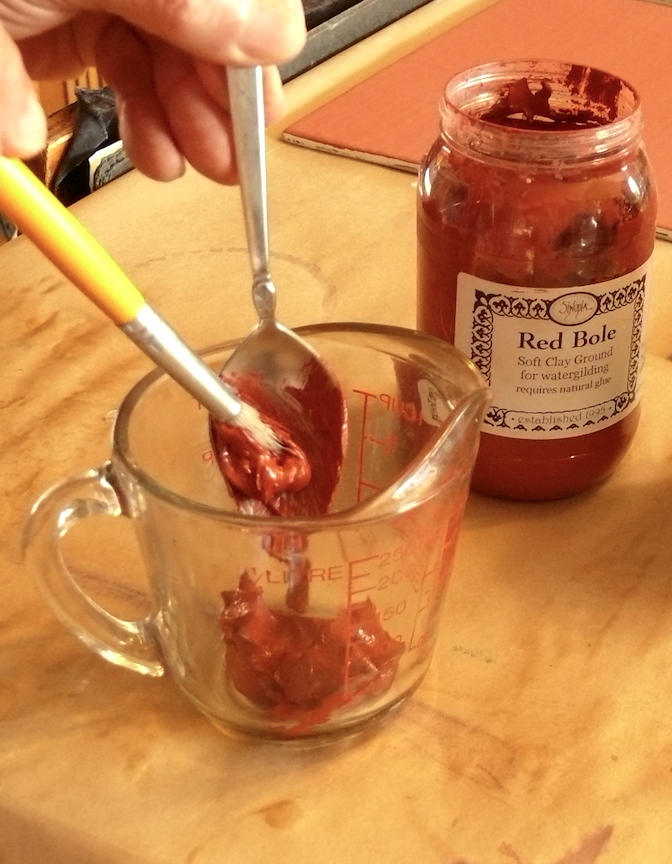
Preparing the Gesso
Measure out 3 volumes of the prepared rabbit skin glue solution into a container that can be heated.

Adding the Chalk
Gently sift two parts French Chalk into the warm glue solution. For toned grounds, substitute 1 volume of chalk with a pigment such as red earth, umber or black.
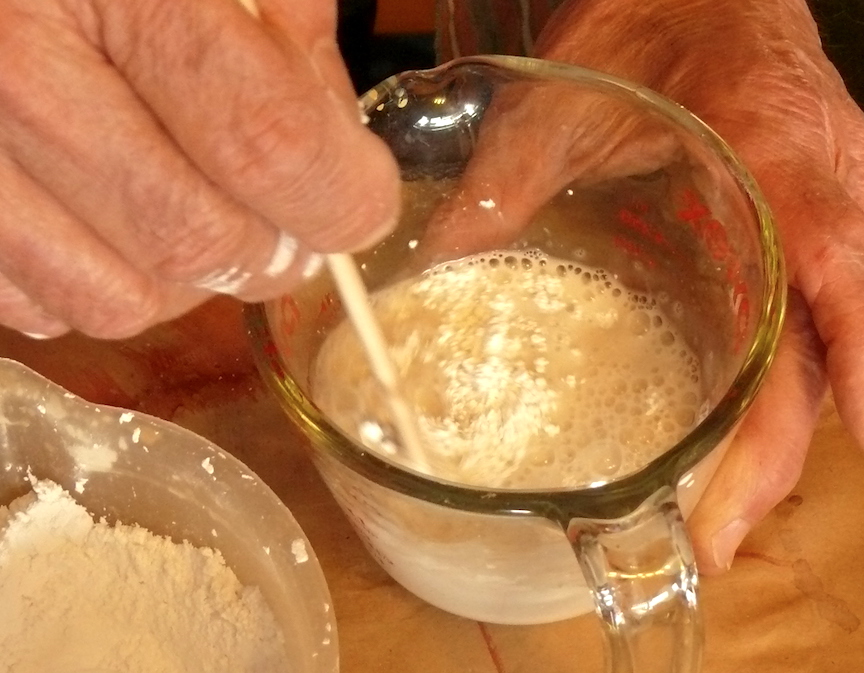
Blending the Gesso Ingredients
As the chalk is added to the rabbit skin glue solution, continually stir the mixture gently, in order to prevent the forming of air bubbles in the gesso. Once the desired consistency has been reached (we like a heavy cream consistency, but the gesso can be made thicker with more chalk), the ground is ready to be applied.

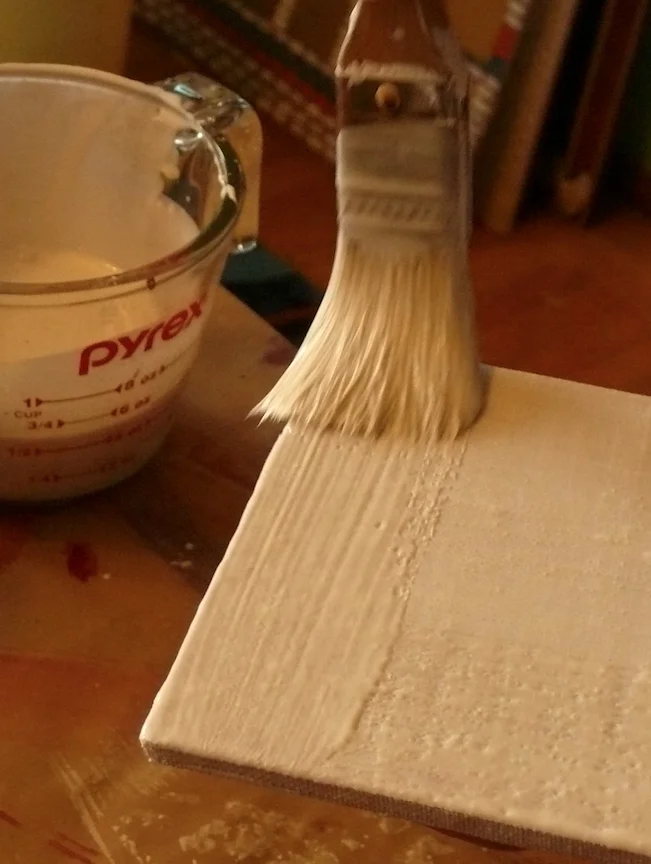
Applying the Gesso
Use a brush with firm bristle to apply the first layer of gesso with unidirectional brush strokes. This layer will absorb into the fabric and not cover the fabric. This layer is not about building up the surface, but about creating a foundation for the subsequent layers.
Brush Note: For application use a brush that has a suitable size for your panel dimensions. Avoid giant brushes, because controlling the flow from the brush can be difficult. If the brush is too small, then gessoing will take forever. We prefer natural bristle brushes such as hog or ox hair bristle, but synthetic brushes will work as well.

Applying the second coat of Gesso
Once the first layer has dried, the panel is ready for the second coat. The layers of gesso take about 5-10 minutes to dry, before they can accept the next application.

Applying Gesso layers
Once the previous layer has dried, apply the next layer with brush strokes in a perpendicular to the previous layer. We recommend a minimum of at least 3-4 layers, but most gilders will apply 8-10 layers of gesso. Once the gesso has completely dried, it can be sanded for a smooth finish.
Gesso Note: During the application, it is necessary to continually stir the gesso gently on the heat source, because the chalk likes to settle at the bottom of the container. Once again: stir gently, so that you do not wisk air into the gesso.